The Elegoo kit can be upgraded by using a Raspberry Pi 3 for more processing power. The Raspberry Pi is not a microcontroller or microprocessor like the Arduino. Instead, the Raspberry Pi is referred to as a single board computer. This includes a System On a Chip integrated circuit including a multi-core processor, GPU, ROM, and I/O peripherals. The Raspberry Pi is essentially a computer. It runs a modified version of the Linux operating system and includes a graphics driver for HDMI output.
Required Hardware
The Raspberry Pi comes with its own memory and uses an SD card for storage. This allows users to easily swap between different versions of the operating system or software installed across multiple SD cards. Since the Raspberry Pi is constantly writing to the SD card, it is recommended to get a durable SD card such as the SanDisk Ultra 32GB microSDHC. This will reduce the likely-hood of the SD card becoming corrupted and potentially losing the files stored on the card.
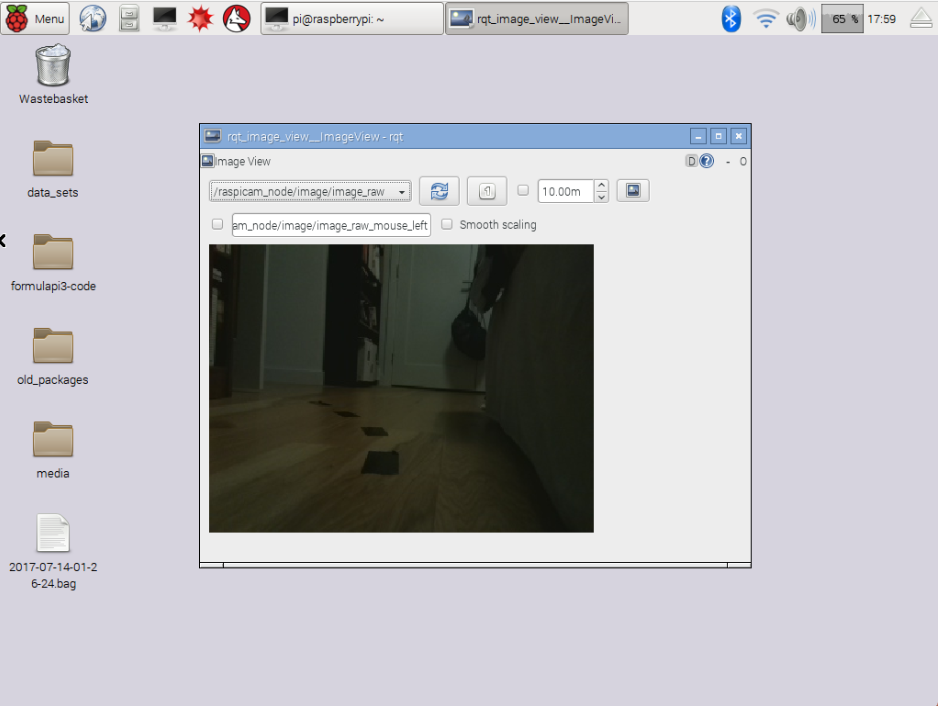
Additionally, we will integrate the Raspberry Pi Camera Module V2 to provide an additional sensor to the vehicle kit. While the sonar system is helpful for detecting obstacles, it is not sufficient for complex autonomous navigation. The line following modules only apply to very specific environments and scenarios. Therefore, the addition of the camera greatly expands the capabilities of the vehicle, allowing it to more accurately sense the environment, identify objects, and plan a safe route through that environment to reach a goal. RaspberryPi Learning Resources has a good tutorial that covers the installation, configuration, and testing of the RaspberriPi Camera Module.
While the Raspberry Pi is typically powered by the wall adapter during testing purposes, it will need a portable power supply that can power the Raspberry Pi while it is attached to the vehicle and maneuvering through the environment. Most portable USB power supplies will work. The key is to ensure that they have a USB output which is rated for 5V and ideally 2100mA. The current is especially important since the Raspberry Pi will provide power to peripherals such as the camera and WiFi adapter. I have used the Solar Powerbank MP-S6000 which has proven sufficient so far. Additional options are described in this article.
Lastly, to operate the Raspberry Pi remotely, it is helpful to have the Raspberry Pi connected to the internet. The Raspberry Pi 3 comes with 802.11n WiFi and Bluetooth 4.1 built in. This allows you to remotely connect to the Raspberry Pi via SSH to execute commands and view diagnostic information about the programs run on the Raspberry Pi. Additionally, data such as images from the camera can be transmitted over WiFi to a more powerful offboard computer. This computer can be used to run more advanced algorithms and software, computer motor control commands, and send those directly to the Raspberry Pi for further transmission to the Arduino.
These extra components can be mounted on the Elegoo so that the camera is positioned at the front and center of the vehicle as shown below:

Required Software
The Raspberry Pi runs off an operating system based on Linux called Raspbian. For this project, the most recent Raspbian Jessie Lite image was installed. The Raspberry Pi website has installation instructions but basically you just download the image and use a program to copy that image onto your SD card. Once the operating system image is copied onto the SD card, you should be able to insert the SD card into the Raspberry Pi, power it on, and get to the initial desktop which looks like the image below.

ROS Installation on a RaspberryPi 3
For this project, we will rely on the Robot Operating System as the meta-operating system for the autonomous car. ROS provides libraries and tools to help software developers create robot applications. It provides hardware abstraction, device drivers, libraries, visualizers, message-passing, package management, and more. Along with ROS, Gazebo is used for simulation. A well-designed simulator makes it possible to rapidly test algorithms, design robots, and perform regression testing using realistic scenarios. Gazebo offers the ability to accurately and efficiently simulate populations of robots in complex indoor and outdoor environments.
Installing ROS on a Raspberry Pi requires that you download and build ROS from the source code. We will be following the ROSberryPi installation guide and making a few modifications with some patches.
First, it is necessary to increase your swap file size to at least 1GB (1024MB) since some of the compiling requires a lot of memory and will crash the Raspberry Pi if you don’t increase the available memory.
Start by opening the dphys-swapfile file.
$ sudo nano /etc/dphys-swapfile
Make the following changes in the file:
--- CONF_SWAPSIZE=100
+++ CONF_SWAPSIZE=1024
You can either restart your PI or just the swap daemon:
$ sudo /etc/init.d/dphys-swapfile stop
$ sudo /etc/init.d/dphys-swapfile start
This may take bout 30 seconds to run. You can run the below command to make sure that you have 1024 of swap memory:
$ free -m
Configure your Ubuntu repositories to allow “restricted,” “universe,” and “multiverse.” You can follow the Ubuntu guide for instructions on doing this.
Setup your computer to accept software from packages.ros.org:
$ sudo sh -c 'echo "deb http://packages.ros.org/ros/ubuntu jessie main" > /etc/apt/sources.list.d/ros-latest.list'
Next, follow the ROSberryPi installation guide instructions for Raspbian Jessie. Note that there are a couple of variants that can be installed. Since we don’t need visualization tools like RVIZ and Gazebo, we can use the robot variant. This variant is defined to be core, stable, ROS libraries for any robot hardware. It is the “general robotics” libraries of ROS. We will add additional packages not included in the variant later.
Also note that the collada-dom-dev package must be installed from source since it is not available in the repositories. This requires patching the collada_urfd.cpp file with the patch described in these instructions. You may also get errors compiling RVIZ related to “undefined reference to ‘vtable for Assimp::IOSystem’ “If so, you will need to patch mesh_loader.cpp as described on this tutorial.
If the computer fails fail with an “internal compiler error” when building the workspace after all the dependencies and patches are applied try adding the J2 flag that limits the processor load to two cores:
$ sudo ./src/catkin/bin/catkin_make_isolated —-install -DCMAKE_BUILD_TYPE=Release —-install-space /opt/ros/indigo -j2
If you want to add more core packages to the installed ROS workspace, first create a new rosinstall file including the new packages. Update the workspace with wstool and run rosdep to install any new dependencies. Then you can build the system. The commands are below, just update with your deisred package or series of package names.
$ rosinstall_gnerator <pkg> —-rosdistro indigo —-deps —-wet-only —-exclude roslisp —-tar > custom.rosinstall
$ wstool merge -t src custom.rosinstall
$ wstool update -t src
$ rosdep install —-from-paths src —-ignore-src —-rosdistro indigo -y -r —-os=debian:jessie
$ sudo ./src/catkin/bin/catkin_make_isolated —-install -DCMAKE_BUILD_TYPE=Release —-install-space /opt/ros/indigo -j2
Overlaying catkin Workspaces
For our autonomous car packages, we will create a new catkin workspace and overlay it onto the existing system for development and testing. The new packages will still have access to all of the core packages, but we will build and compile them separately. This page contains more information on overlaying workspaces.
First, create a new folder for the new workspace in order to build and source this overlaid package:
$ mkdir -p ~/overlay_ws
$ cd ~/overlay_ws
$ mkdir -p ~/overlay_ws/src
$ cd ~/overlay_ws/src
Next, install any packages in the src folder. The command below installs the latest autonomous car packages:
$ git clone https://github.com/wilselby/diy_driverless_car_ROS.git
Before building the workspace, make sure that the environment is setup correctly. Since we want to build the packages in this workspace “on top of” the core packages installed previously, we source the core package’s environment setup file”
$ source /opt/ros/indigo/setup.bash
Build the workspace by invoking catkin_make from the root of the catkin workspace:
$ cd ~/overlay_ws/
$ catkin_make
Finally, source the newly created devel space. This will overlay the packages in this workspace on top of the packages installed in /opt/ros/indigo
$ source ~/overlay_ws/devel/setup.bash
Install Xbox 360 controller
An Xbox 360 controller can be used in place of the typical remote control. This allows users to manually input commands to the simulated system. This page provides instructions on setting up the Xbox controller on Ubuntu 14.04. The jstest-gtk package is a simple program to verify the Xbox controller is installed and functioning correctly. The ROS wiki also contains a tutorial for configuring a joystick on Linux. Note that it may be necessary to update the joy node package parameters in the launch file based on the joystick’s assigned input value.
<param name="dev" type="string" value="/dev/input/js0" />
To test the controller, run the following commands in separate windows:
$ sudo xboxdrv —silent
$ jstest-gtk
The screenshot below shows a sample output of the jstest-gtk package depicting the measured controller values.

Enabling SSH Connections
The SSH protocol allows you to connect to your Raspberry Pi from a Linux computer, Mac, or another Raspberry Pi. The SSH software is already installed in the Raspbian distribution, but SSH needs to be enabled.
First, go to the Raspberry Pi Configuration tool under the “Preferences” section of the Main Menu.

Under the “Interfaces” tab, check that SSH is enabled.

Next, determine the IP address of the Raspberry Pi.
$ ifconfig
Once the IP address is known, from a remote computer, run the following command.
$ ssh pi@<IP>
If you receive a “connection timed out” error check that you entered the IP address correctly.
When the connection works you will see a security/authenticity warning. Type yes to continue. You will only see this warning the first time you connect.
Once connected, you will be asked for the password associated with the pi username. On Raspbian the default password is raspberry. If successfully logged in, your prompt should now be the same as the prompt on the Raspberry Pi.

Enable Remote Desktop
Modifying Log Settings
Depending on the default Raspbian log settings and the size of the SD card being used, it is possible that the SD card could quickly become completely full from large log files.
To quickly check the amount of free space, run the following command:
$ df -h

If the amount of disk space remaining looks unusually small, check the size of your logs files.
$ cd /var/log
$ ls -s -S
This will arrange the files by size order. These files are the ones that are the largest.
- syslog
- messages
- kern.log
If the filesystem is completely full, you can empty these files and replace them with blank text with the following commands
$ sudo su
$ > syslog
$ > messages
$ > kern.log
Typically, the operating system rotates these logs to prevent them from getting too large. However, it is possible that due to the small storage capacity of the SD card, these files may need to be archived more frequently. Instead, we can tell the system to archive these files once they reach a specific size.
Edit /etc/logrotate.conf so that the maximum file size is 250 MB and only 2 copies are maintained at once.
size 250M
rotate 2
create
#compress
include /etc/logrotate.d
While this covers some of the files in /var/log, it doesn’t account for syslog, messages, and kern.log. Those are handled by rsyslog which is located in /etc/logrotate.d/. Edit the entries to include rules for syslog, messages, and kern.log
/var/log/syslog
{
size 250M
rotate 2
create
}

/var/log/messages
{
size 250M
rotate 2
create
}

/var/log/kern.log
{
size 250M
rotate 2
create
}